This is the design area where an Administrator gets to define every detail relating to the call procedures within Bonga Cloud, it is very important to master these configurations to make the most of your customer journey.
¶ Scenarios
These are IVR templates that refer to pre-defined structures or designs that provide a framework for building Interactive Voice Response (IVR) systems within Bonga Cloud. IVR templates will be used to create consistent and standardized IVR menus, prompts, and workflows.
Currently, Bonga Cloud supports multiple, versatile templates with similar ways of interacting with them referred to as Scenarios.
Bonga Cloud supports a wide range of audio formats like WAV, MP3, GSM, Ulaw, Alaw, Opus etc., but for optimal audio experience we recommend the following WAV formats in order of precedence:
- PCM 8 kHz, 16-bit, mono: This is a standard PCM (Pulse Code Modulation) format with a sample rate of 8 kHz, 16-bit depth, and mono (single-channel) audio.
- PCM 16 kHz, 16-bit, mono: Like the previous format, but with a higher sample rate of 16 kHz.
- PCM 48 kHz, 16-bit, mono: This format has a sample rate of 48 kHz, which provides higher audio quality but also results in larger file sizes.
¶ Create
To create a new scenario, follow the procedure below:
Step 1: Click on the Create Scenario button located at the top right of your view, a pop-up will appear requesting you name it and choose one of the available scenarios.
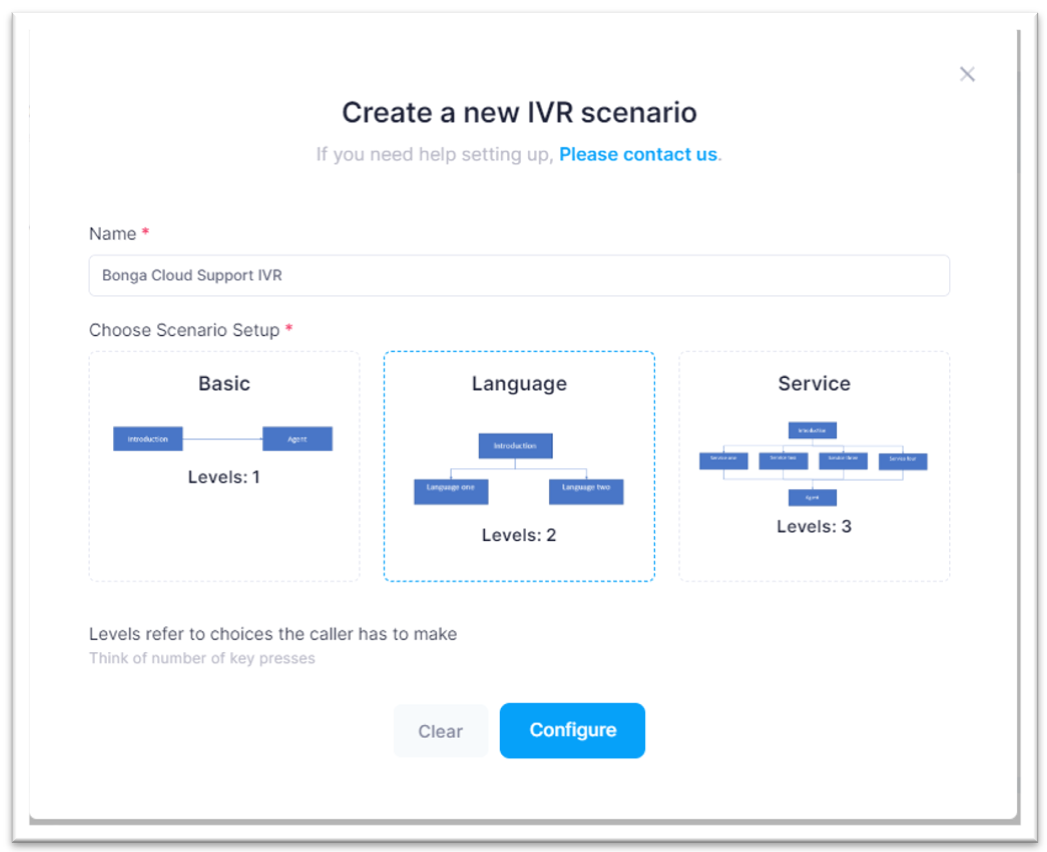
- Basic: Contains 1 level tree structure and a maximum of 2 audio files. A typical use of this scenario is when you would like to acknowledge the caller and introduce your service/organization/product and ask the caller to wait for an available agent.
- Language: Contains 2 level tree structure and a maximum of 3 audio files. A typical use of this scenario is when you would like to acknowledge the caller and give language options to introduce your service/organization/product, then advise the caller to wait for an available agent.
- Service: Contains 3 level tree structure and a maximum of 6 audio files. A typical use of this scenario is when you would like to acknowledge the caller and give multiple options to introduce your service/organization/product, then request the caller to wait for an available agent.
NB: Examples given are possible scenarios, but you can design the call flow as you see fit. The administrator can create as many scenarios as you want but only one can be active at a time!
Step 2: Click on the Configure button to accept the scenario choice or click on the Reset button to clear the form details.
Step 3: If you clicked on the Configure button above, your view is changed to a canvas you can upload linked audio files to your preselected scenario. Upload the audios by clicking on the Choose File button and selecting your desired audio file.
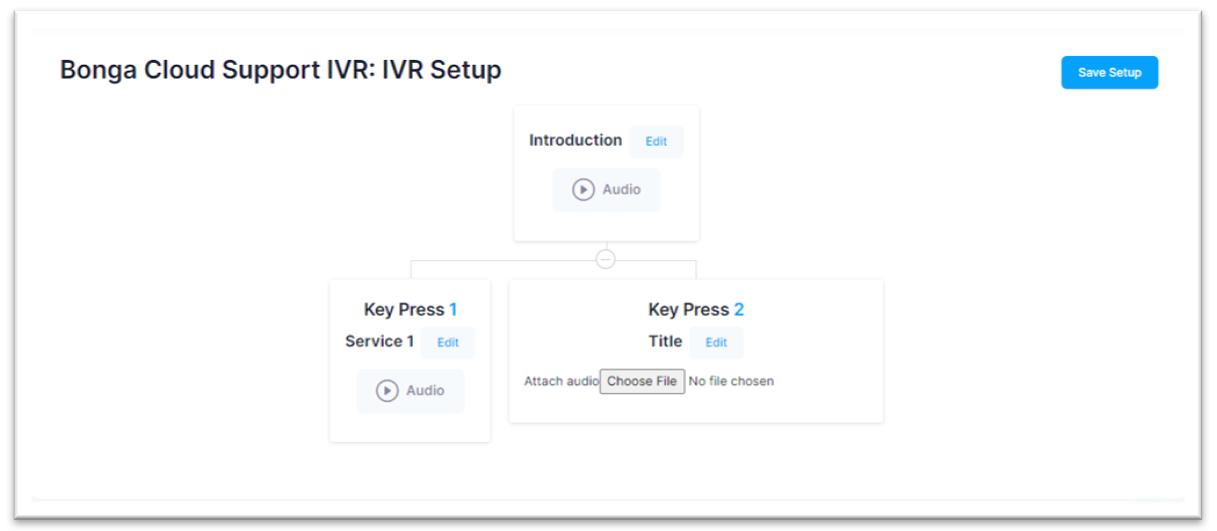
N.B: Your view will change to a playable audio button on a successful upload of the chosen audio file.
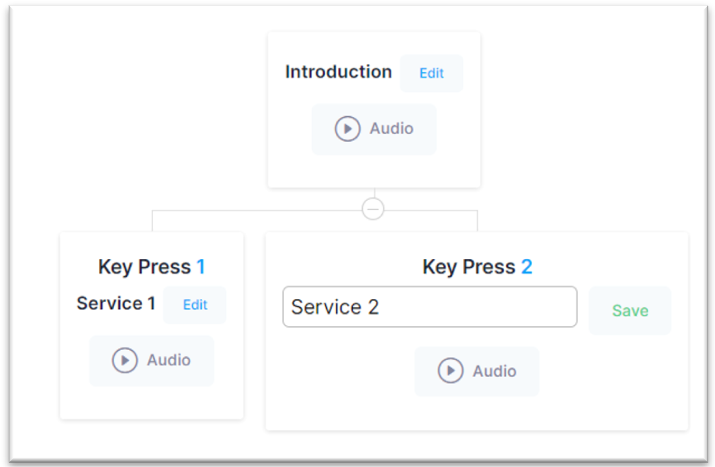
Step 4: You can manipulate the audio tree card names by clicking on the Edit button next to the Title, provide the new name and click on the Save button to persist the changes.
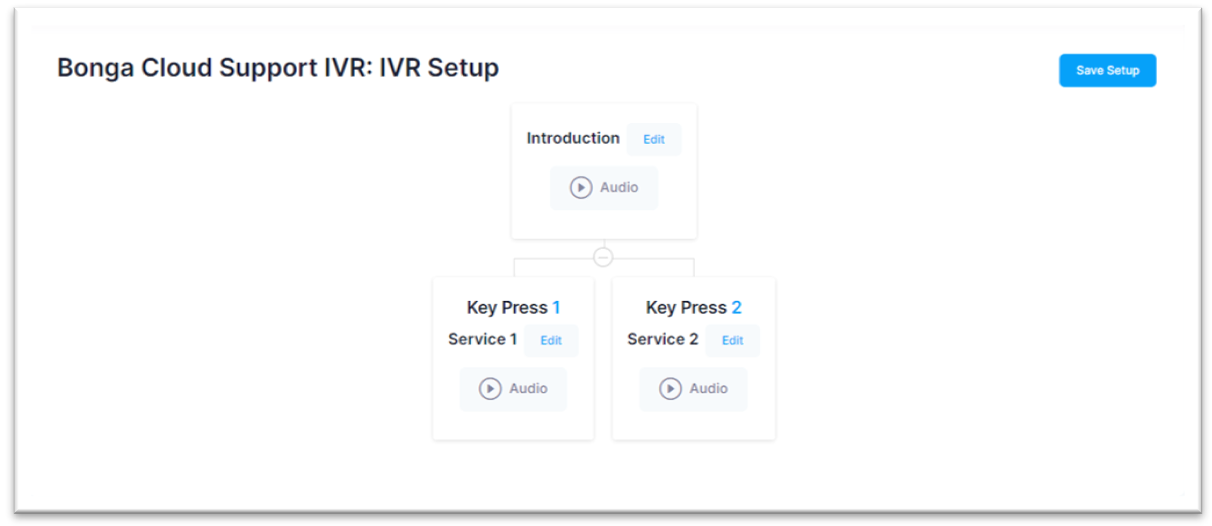
Step 5: An accomplished setup should look like what we have below with all the tree cards including playable audio buttons to preview the uploaded audios and desired tree card names.
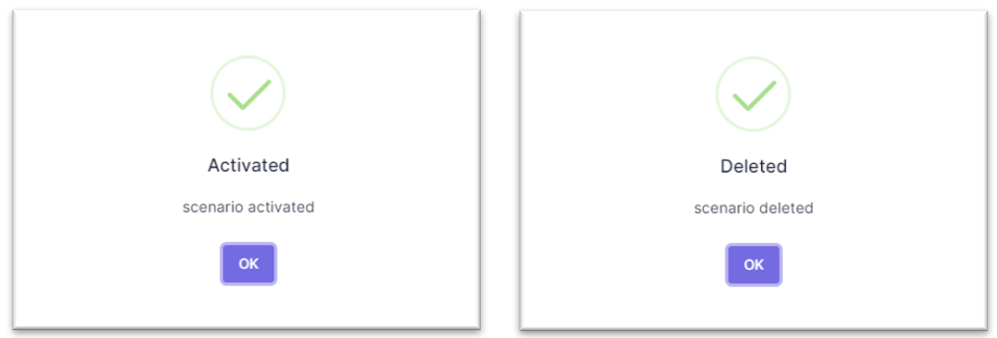
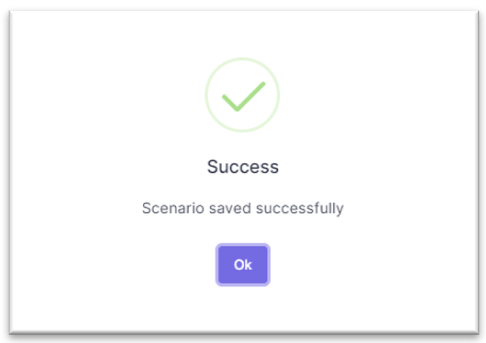
Step 6: Click on the Save Setup button to save your IVR scenario. On success, you will be received by the pop up below. Click OK to dismiss it.
Step 7: You can view all previously created IVR scenarios within Bonga Cloud from the section named All IVR Setups. Any entry with a blue checkmark against it indicates it is currently active, this entry will not have further actions to Activate or Delete to the right side of it.
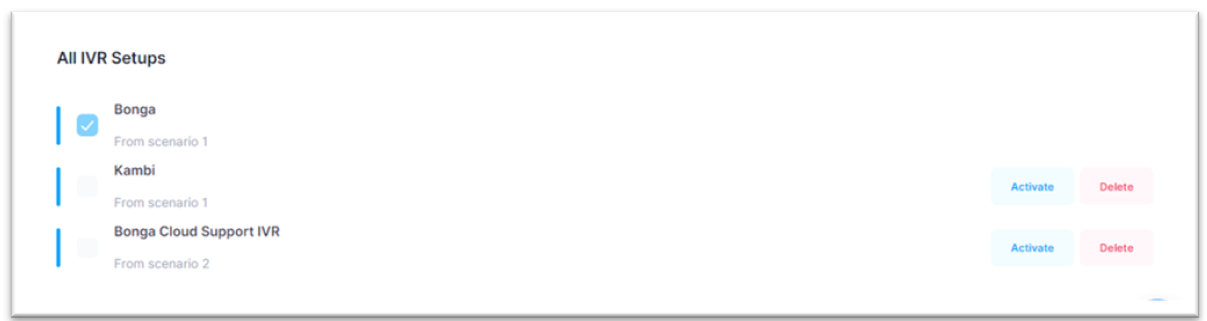
Step 8: You can activate any other scenario by clicking on the Activate button or even delete an existing one by clicking on the Delete button. You will be presented by the success popup affirming your actions.